Learn how to import and export your CCV and how to import publication data from sources like Google Scholar.
Canadian Common CV Management
The Queen's Research Discovery Network can be used to update your Canadian Common CV (CCV), and use funding templates to organize your information.
1. Log in to the CCV website.
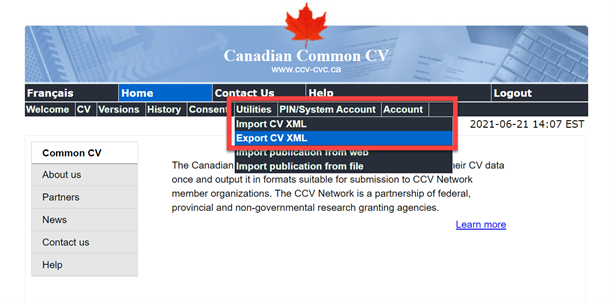
2. From the home page, select Utilities->Export CV XML.
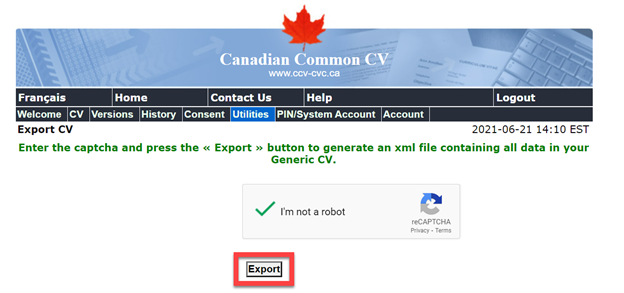
3. Click “I’m not a robot” and then select “Export”. This will download a .xml file containing all of the information from your CCV.
4. Log in to the Queen's Research Discovery Network.
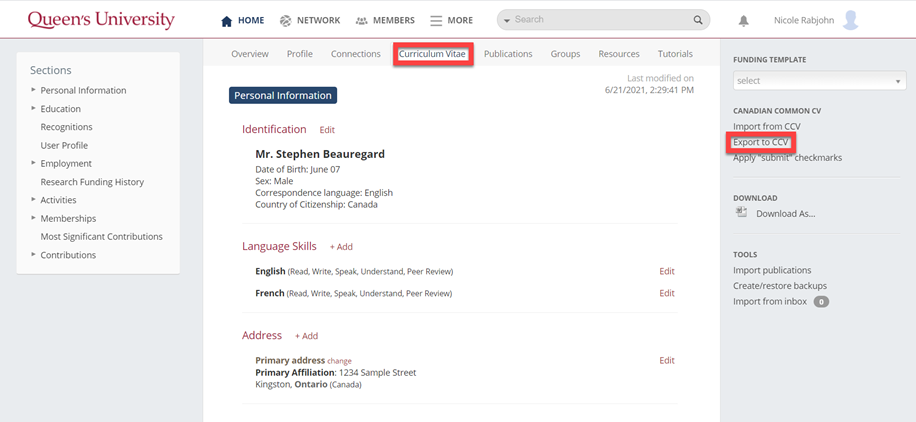
5. Navigate to your CV page by selecting the Curriculum Vitae tab.
6. Select "Import from CCV".

7. Choose the appropriate file and select “Import”.

8. Once the green “CCV import was successful” message pops up, select “Done”.

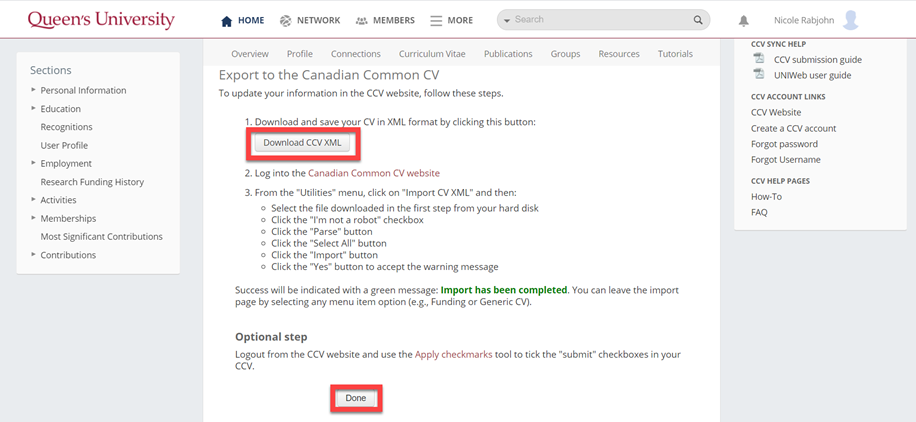
1. Navigate to your CV by selecting the Curriculum Vitae tab.
2. Select "Export to CCV".
3. Select “Download CCV XML”, and then click “Done”. This will download a .xml file to your computer.
4. Log in to the CCV website.
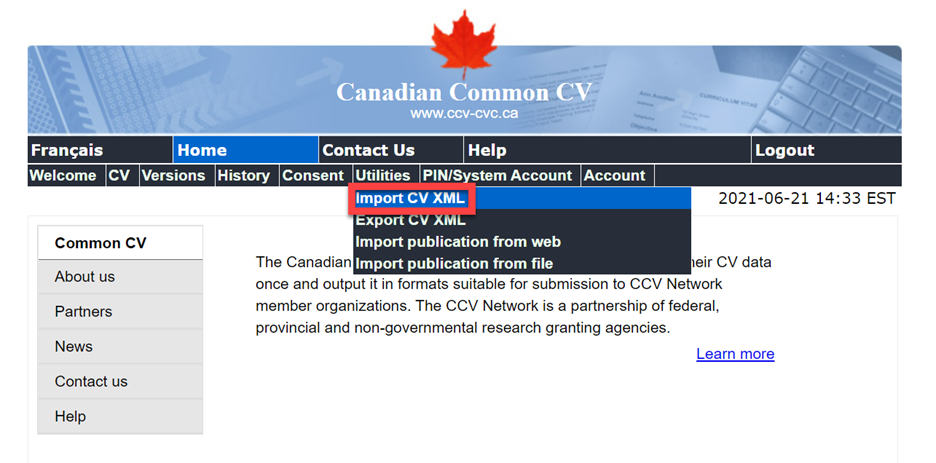
5. From the homepage, select Utilities->Import CV XML.
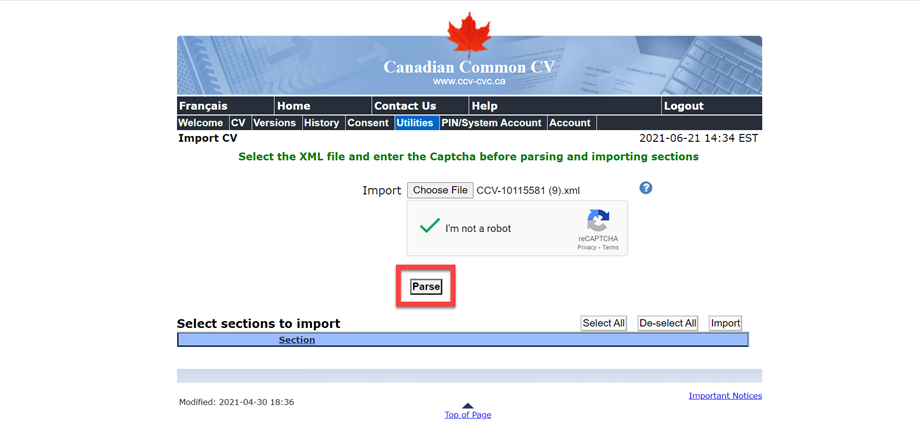
6. Choose the appropriate file, then check the "I'm not a robot" Captcha, then "Parse".
7. Select the sections to import, either manually or with the "Select All" button, then choose "Import".
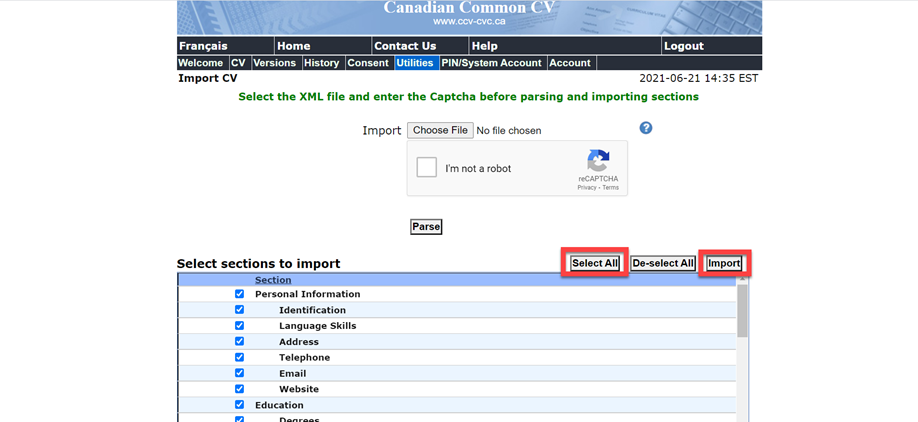
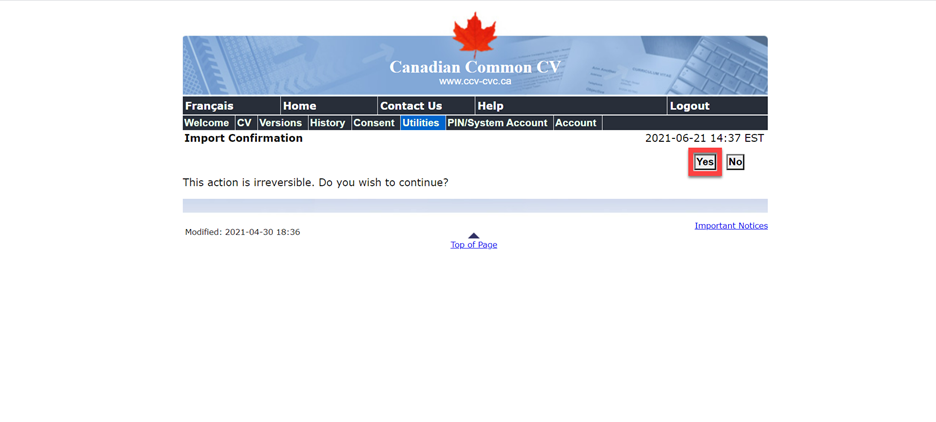
8. Click "Yes" to acknowledge the warning.
9. You can now safely exit the CCV site.
Importing and Displaying Publications
Import and display your scholarly publications for discovery. Publications can be imported from Google Scholar, EndNote, PubMed, or any other citation database.
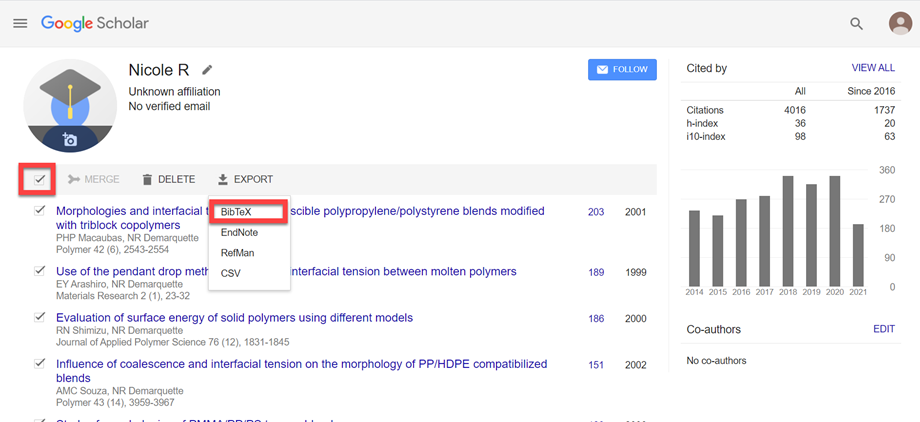
1. Log in to Google Scholar and go to your profile page.
2. Select the publications to be exported, then choose "Export"->"BibTex"
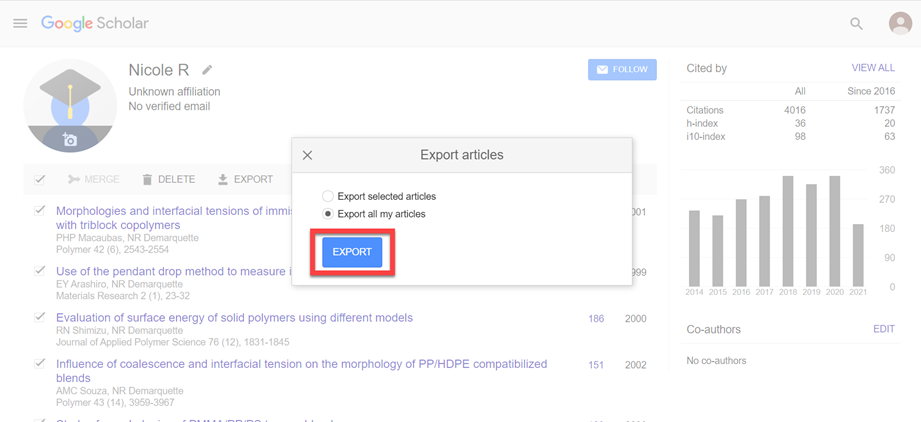
3. Choose to export either all, or selected publications, then choose "Export".
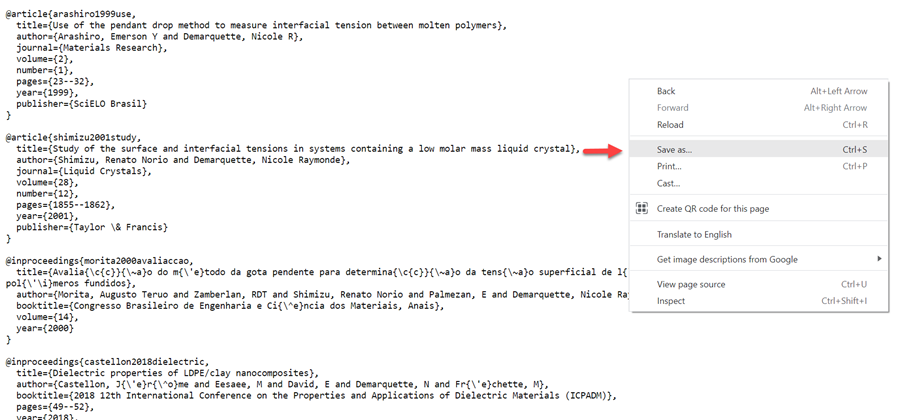
4. Use CTL+S or right click to save the webpage you see as a .txt file.
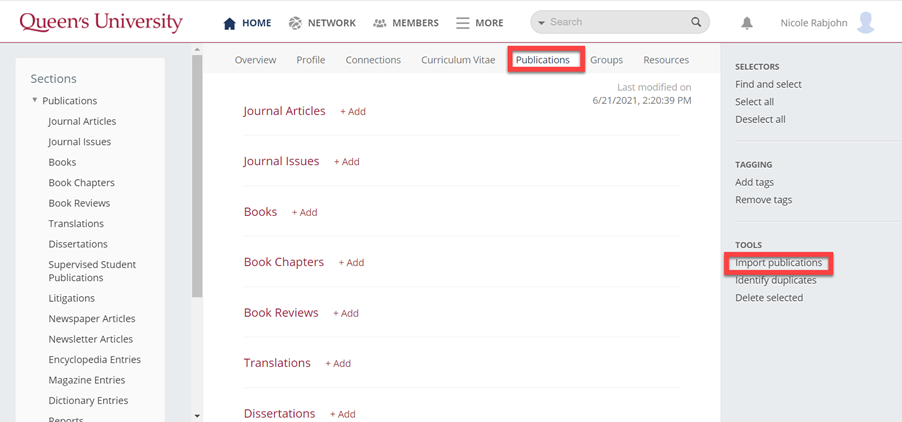
6. In your account, navigate to your publications by selecting the Publications tab.
7. Click "Import Publications".
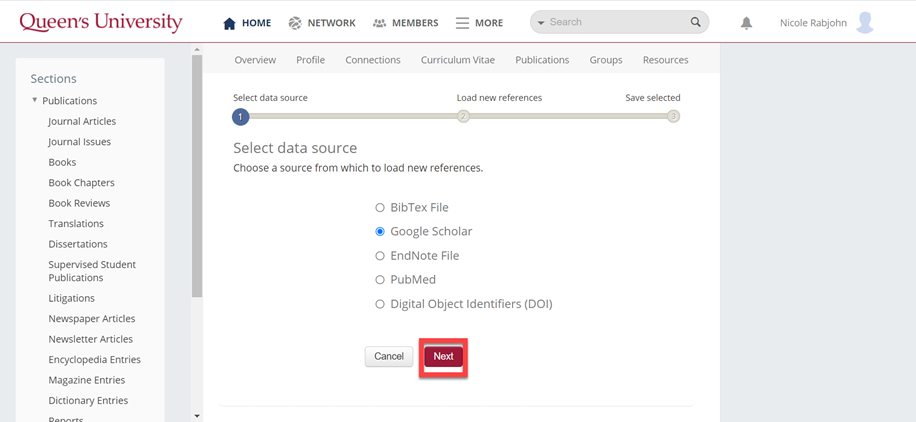
8. Choose Google Scholar and select "Next".
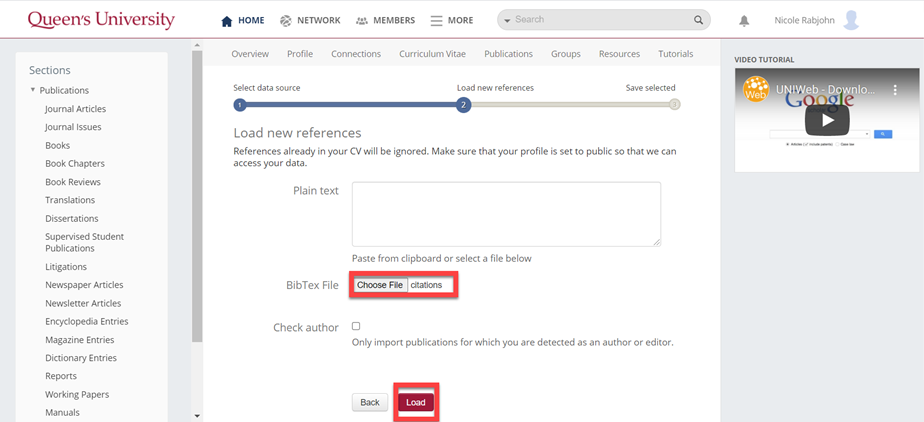
9. Choose the appropriate .txt file and then select "Load".
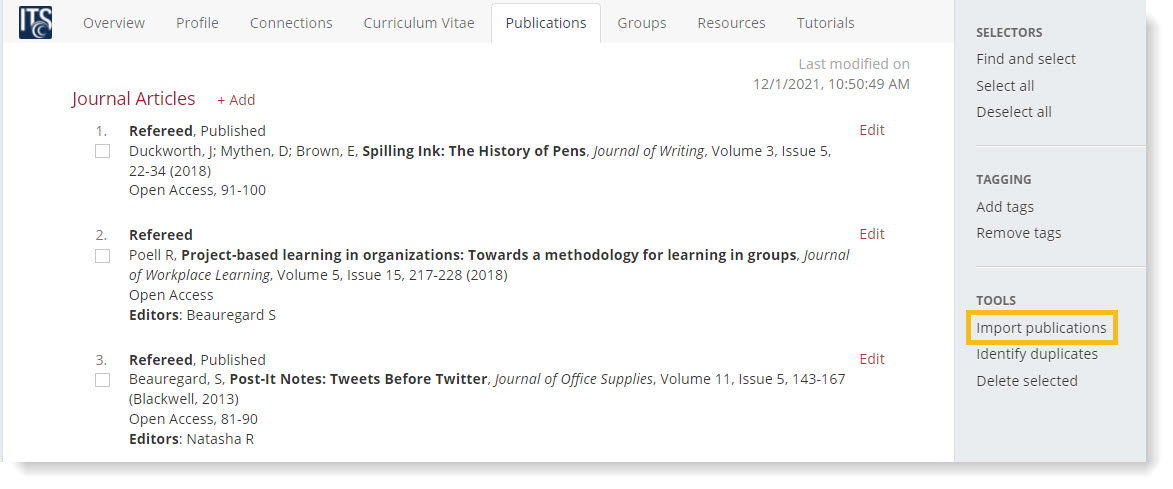
10. Click "Select All", then "Save Selected".

11. You will now be taken back to your Publications tab - from here, see the Displaying Publications on Your Profile tutorial for instructions on how to tag your imported publications so that they appear on your profile.
- From your Publications tab, select the Import publications link in the right sidebar.
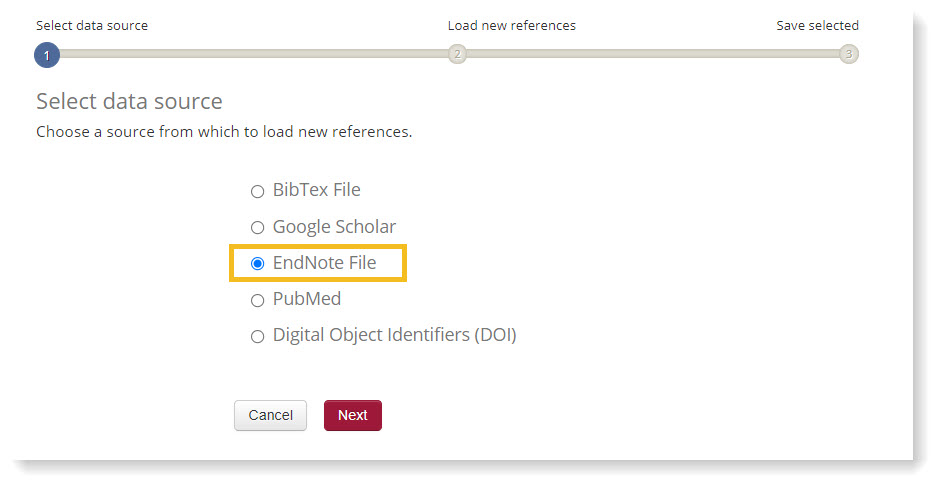
- Select the EndNote File radio button and click Next.
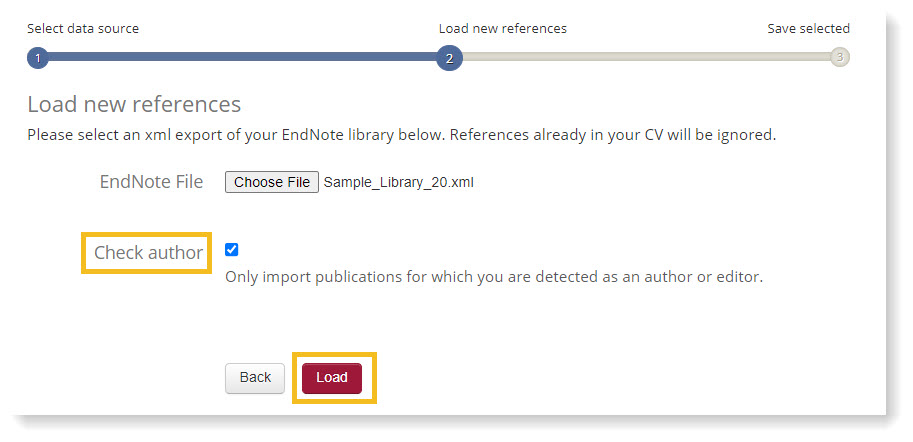
- Click the Choose File button to select the EndNote file from your computer - note that the file must be in XML format. Select the Check author checkbox to only import records wherein you are credited as the author or editor. Now click Load to begin the import.
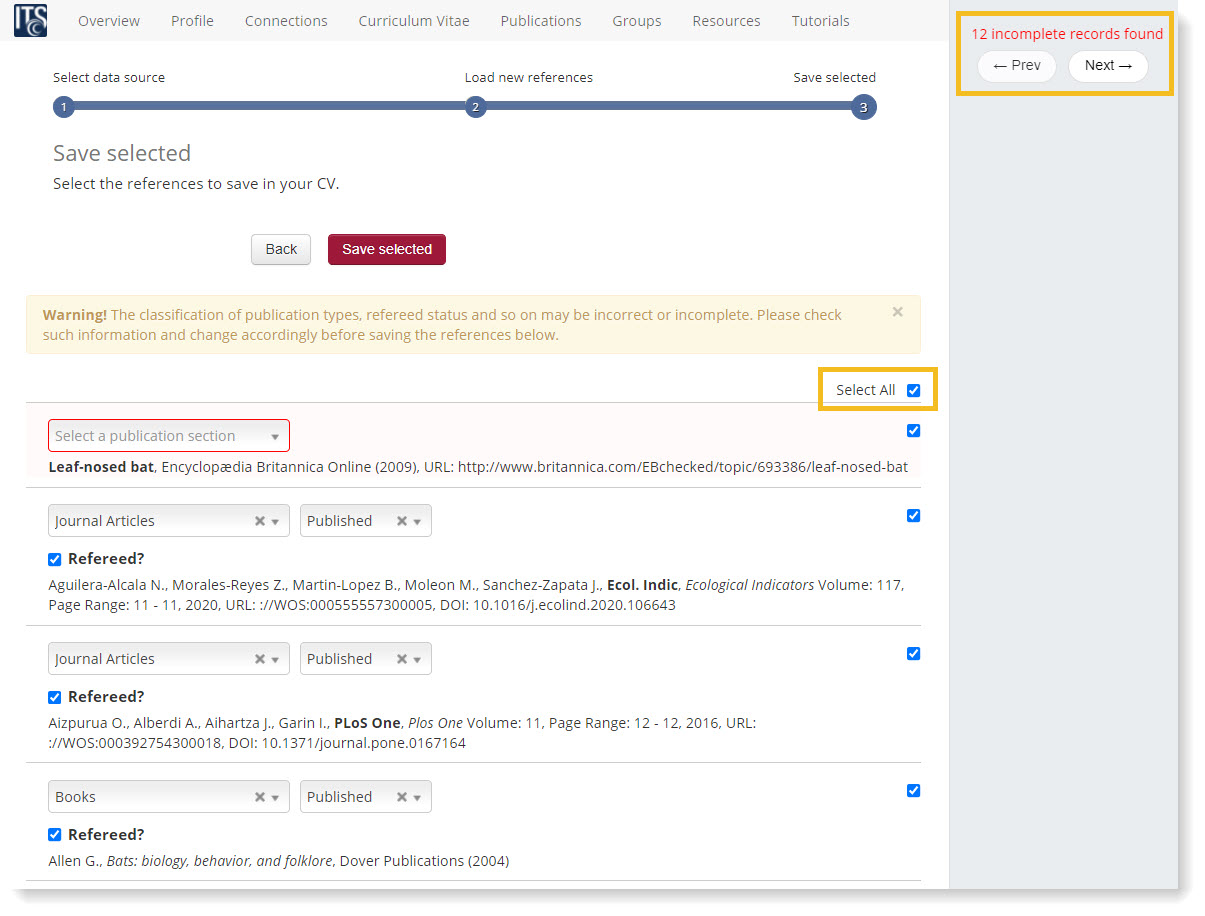
- You will now have an opportunity to review and update the records being imported. Select the Select All checkbox to verify whether any records are incomplete (e.g., missing publication type) - this will automatically highlight any incomplete records for easy identification; use the Next and Prev buttons to navigate to the incomplete records.
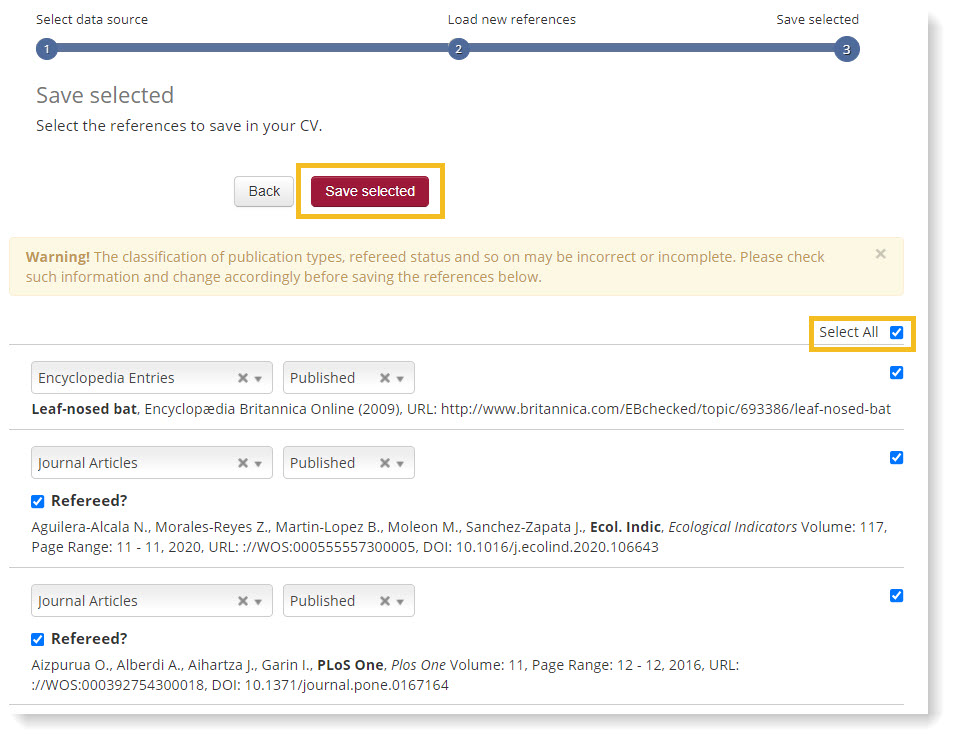
- Once you have updated any incomplete records, you are now ready to import. If you would like to import all records, simply leave the Select All checkbox selected - otherwise, to only imported selected records, deselect the Select All all checkbox to clear the selections, then simply select the checkboxes for the records you do wish to import. When ready to import, click the Save selected button.
- You will now be taken back to your Publications tab - from here, see the Displaying Publications on Your Profile tutorial for instructions on how to tag your imported publications so that they appear on your profile.
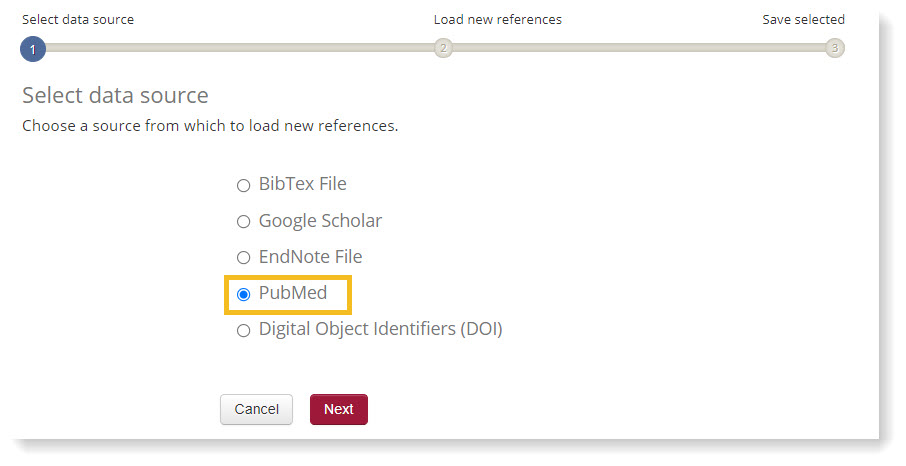
- From your Publications tab, select the Import publications link in the right sidebar.
- Select the PubMed radio button and click Next.
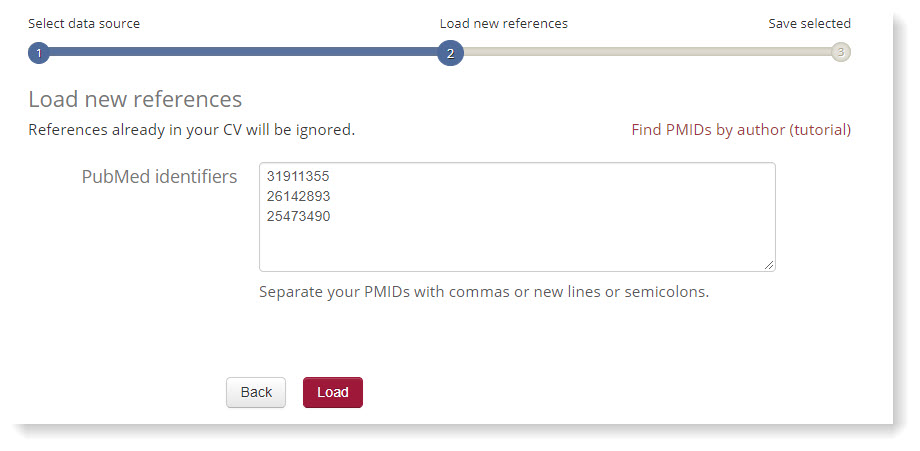
- Enter the PubMed identifiers (PMIDs) as instructed (i.e., separated by commas, new lines, or semicolons), then click Load.
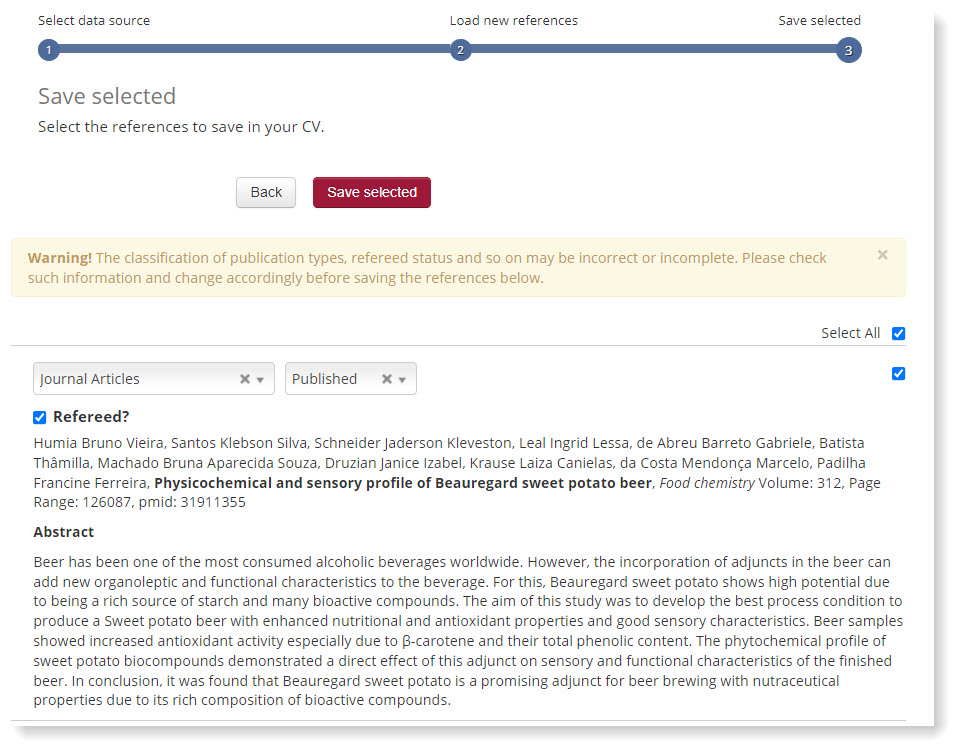
- You will now have an opportunity to review and update the records being imported. Select the Select All checkbox to verify whether any records are incomplete (e.g., missing publication type) - this will automatically highlight any incomplete records for easy identification; use the Next and Prev buttons to navigate to the incomplete records.
Otherwise, click Save selected to import the records.
- You will now be taken back to your Publications tab - from here, see the Displaying Publications on Your Profile tutorial for instructions on how to tag your imported publications so that they appear on your profile.
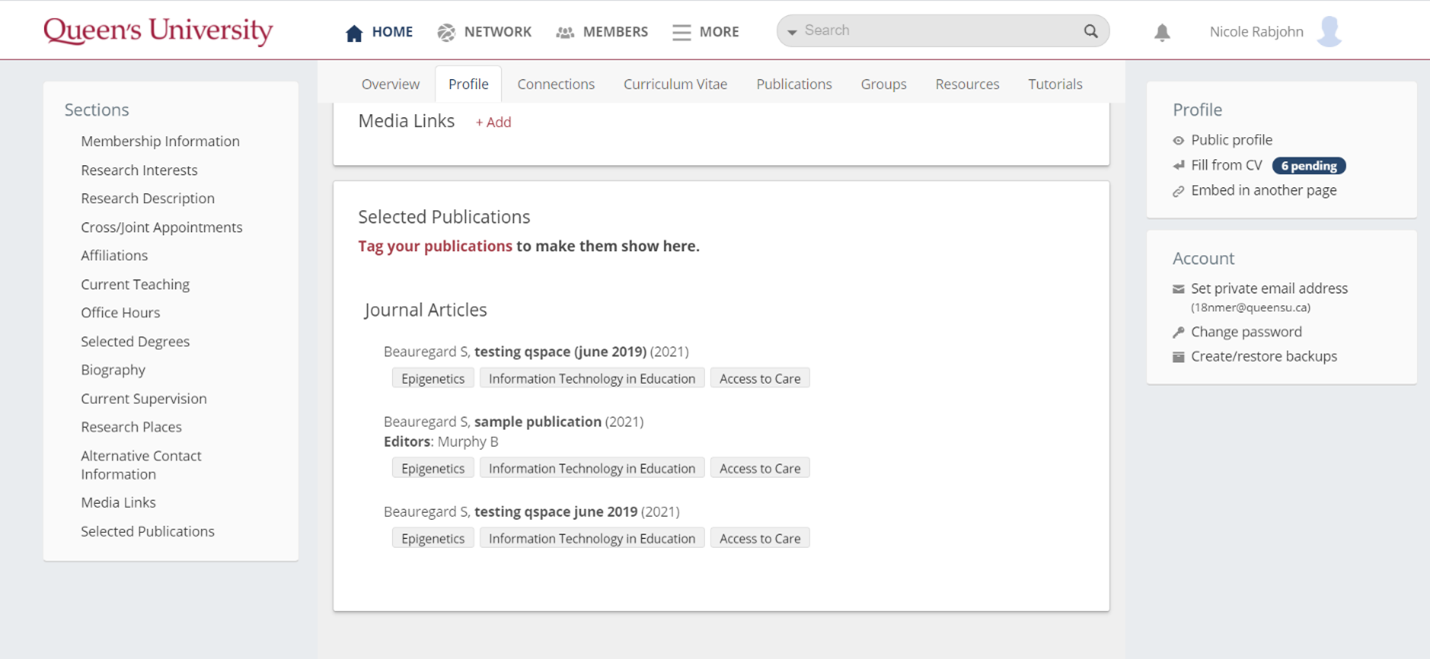
In order for your publications to display in your profile, they must be tagged with at least one relevant research theme.
To add research theme tags to your publications:
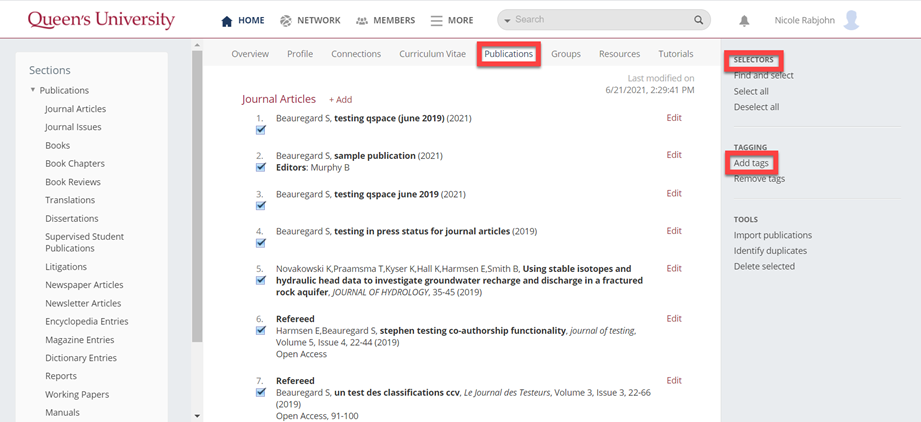
1. Navigate to your publications by selecting the Publications tab.
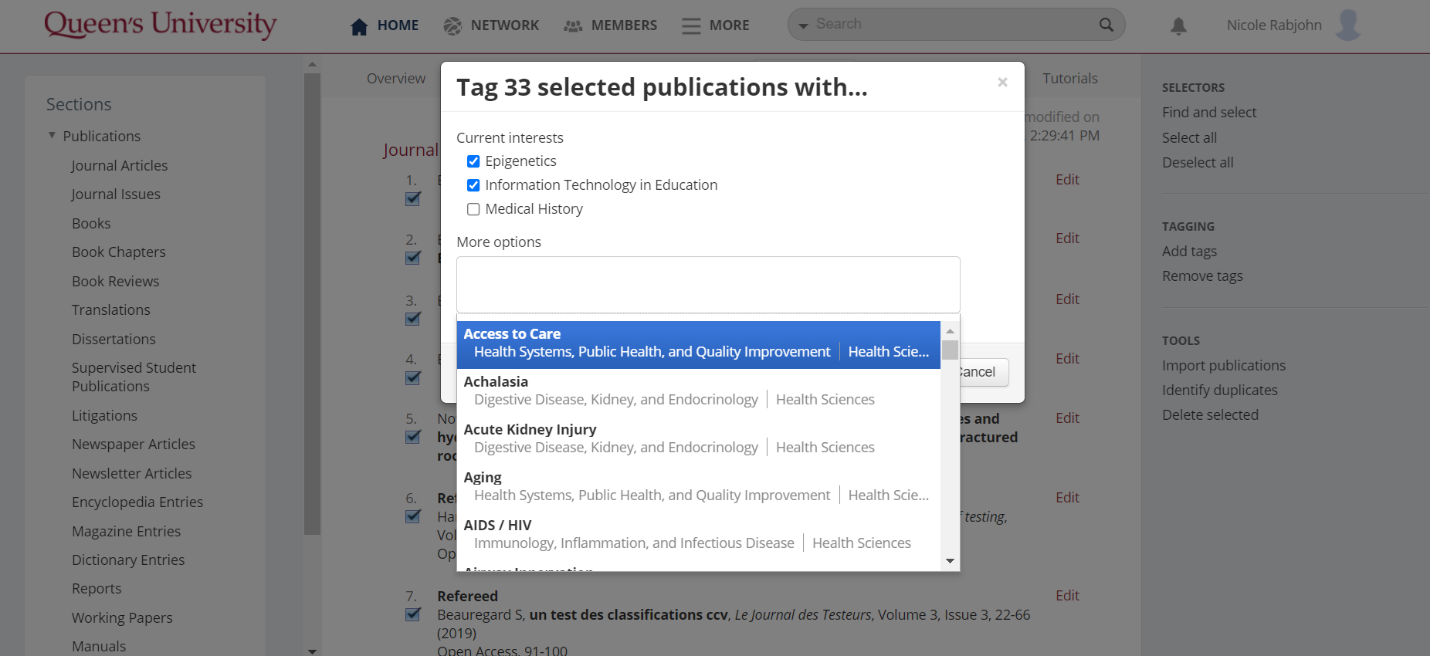
2. Select the publications to be tagged and then select "Add Tags".
3. Choose either from research themes already tagged to your profile, or use the dropdown menu to select new themes.
4. Select "Apply Labels".
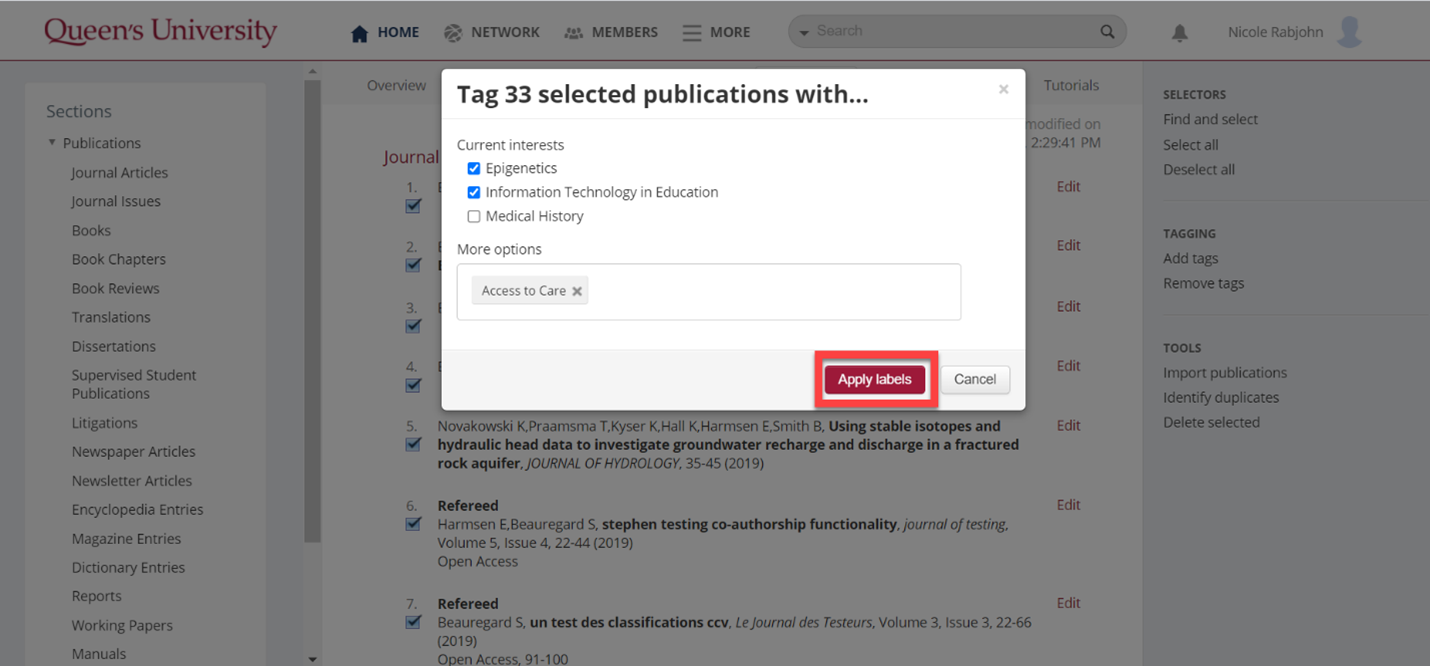
5. Now, the selected publications will be displayed on your public profile.