- Click Profile from your personal menu on the minibar.
- Fill in the text fields. You can enter information about your social networks, contact information, education and work, and personal details such as your birth date, hobbies, and favourite things.
- If you want to upload and display a profile picture, click Change Picture, browse and select your image, then click Done.
- Click Save and Close.
It is recommended that you set up your notification settings as soon as you access onQ. We suggest you activate notifications for News Items, this will enable you to receive important information about your courses. If you choose not to enable notifications, the only method of receiving updates and information for your courses will be to log into onQ directly. To ensure that you do not miss any important communications from your Instructors, here is how to set up email notifications:
- Log into onQ.
- Click on your name, in the top right corner of your screen to access your personal menu.
- Select Notifications.
- Under Contact Methods select what email address you would like notifications to be sent to.
- Under Instant Notifications check the boxes to choose which notifications will be sent by email.
- Select the Save button to confirm changes.
Note: Excluding a course will stop all notifications specific to the course (Grade Items, Content, News, etc...) from being received.
- Log into onQ.
- Click on your name, in the top right corner of your screen to access your personal menu.
- Select Notifications.
- Under Exclude Some Courses, select Manage my course exclusions.
- In the pop-up window, use the search bar to find the course(s) you would like to exclude.
- Click the ‘X’ next to the course(s) title.
- Click Close, and then Save.
The default time zone in onQ is set as “GMT – 5:00 Canada – Toronto.” If you are working remotely and in a different time zone, you should update onQ to reflect that. This will help you with due dates and other time-related settings within the course.
To set your preferred time zone:
- On the minibar, click your username.
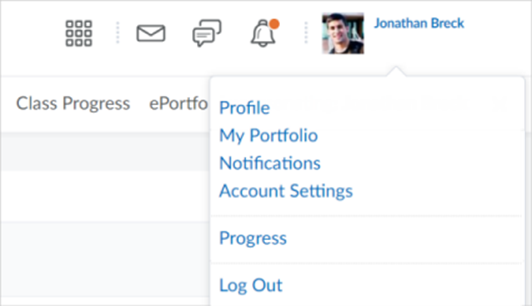
- Click Account Settings.
- From the Continent drop-down menu, select your continent.
- From the Time Zone drop-down menu, select your preferred time zone.
- Click Save.
As a learner, you can view your accommodations from the Classlist. A granted accommodation could be in the form of additional time, a time multiplier, or the ability to bypass certain restrictions that can impact the use of third-party software in a quiz setting. When an accommodation is set, it applies across all future quizzes.
- On the navbar, select the Classlist option under the Communications menu.
- The list of learners in your class displays and if you have any applied accommodations, the accommodations icon appears next to your name.
- Click on the context menu next to your name and select, My Accommodations.
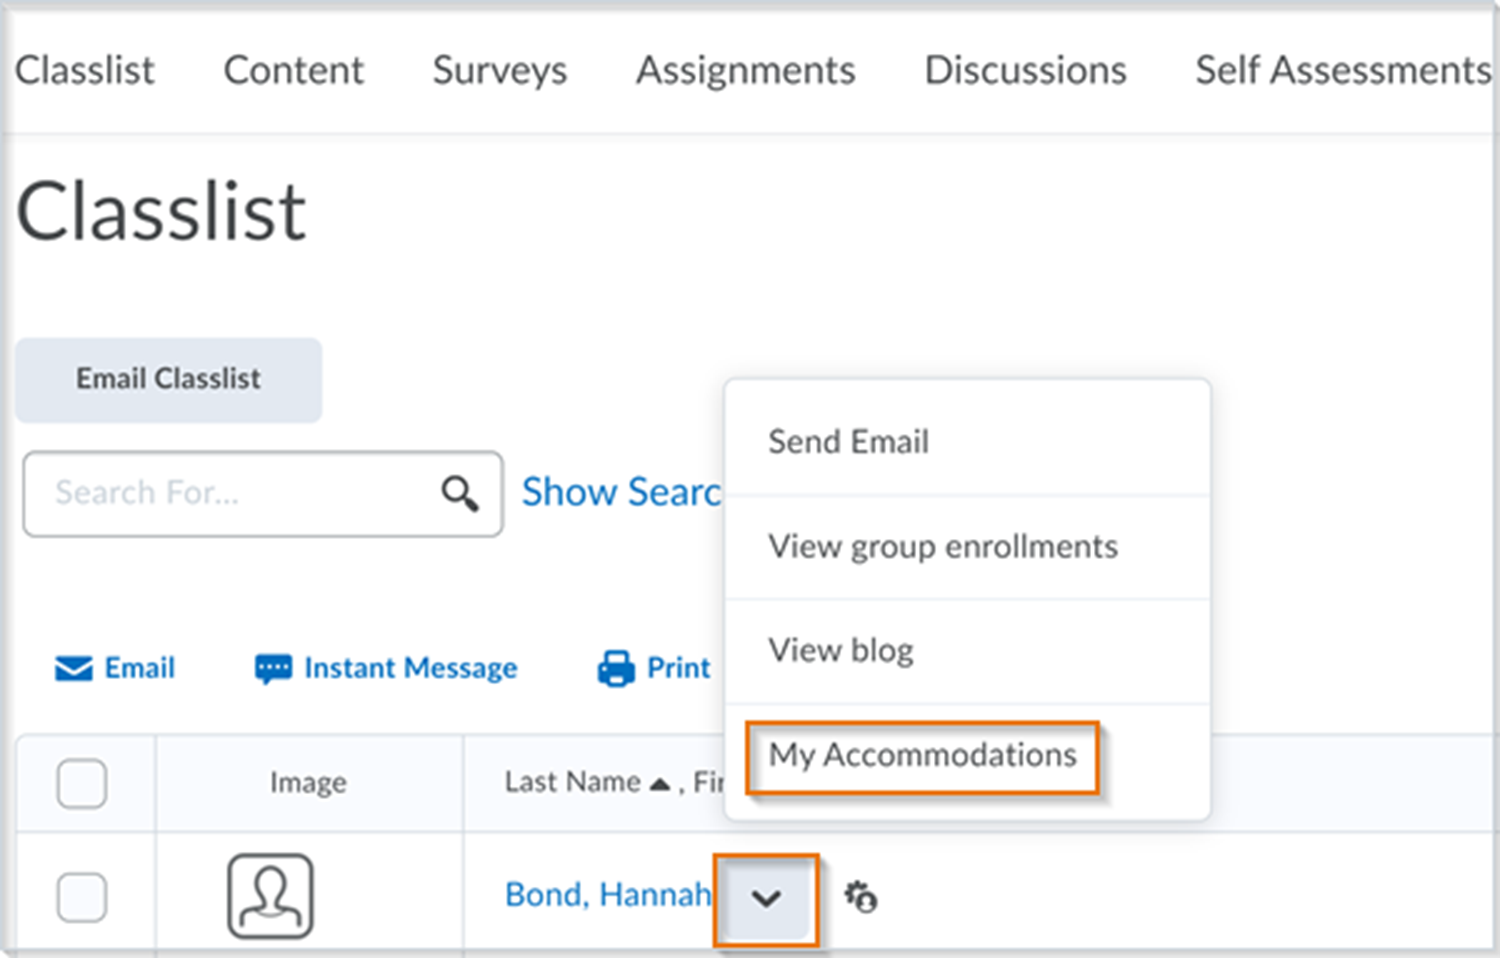
Classlist screen > My Accommodations option off the learner context menu
The View Accommodations dialog box appears. - Once you have viewed your accommodations, click Done.
To drop or unenrol from a course, contact your enrolment/Registrar’s office.
Note: There may be a waiting period after dropping the course for the course to be removed from onQ
NOTE: Self-enrolment is not available for academic courses linked to SOLUS
- From the onQ homepage, locate the Browse Self-Registration Courses widget.
- Click the blue Browse Now button.
- Search for active courses by entering terms that match course titles and descriptions
- Select the course you want to enrol in from the search results.
- From the course details page, click Enrol in Course.
After you enrol in a course, the course is removed from the Discover homepage. To view the enrolled course in Discover, click Browse All Content on the Discover homepage, and then sort by Already Enrolled. All your enrolled courses display in the search results.
NOTE:
- Only courses that allow self-enrolment appear in the search results.
- You can enrol in a course prior to its Start Date, but you cannot enrol in a course past its End Date.
- From the onQ homepage, locate the Browse Self-Registration Courses widget.
- Click the blue Browse Now button.
- From the Discover homepage, do one of the following:
- Click Browse All Content, and then sort by Already Enrolled. All your enrolled courses display in the search results.
- In the search bar, enter terms that match the course title and description.
- Select the course you want to unenrol from.
- From the (...) Options menu on the course details page, click Unenrol.
Note: The Unenrol option appears only if you assigned yourself to the course.
In some cases, you may need to request approval from your instructor before self-enrolling in a course.
To request approval for self-enrolment
- From the onQ homepage, locate the Browse Self-Registration Courses widget.
- Click the blue Browse Now button.
- From the Discover homepage, click a course name to preview the course.
- If the course requires approval before self-enrolling, click Request Approval. You are taken to a Request Details page and your request is set to Pending.

Figure: A notification of approval or decline of self-enrollment.
Figure: The Request Details page.
- If you want to withdraw your request, click Withdraw Request.
Once your instructor approves or declines your request, you will receive a notification in onQ.
You can review all your self-enrolment requests from the My Requests page.
To access the My Requests page:
- From the onQ homepage, locate the Browse Self-Registration Courses widget.
- Click the blue Browse Now button.
- From the Discover homepage, click My Requests.
Figure: The My Requests page.
To review a request:
- Click on the course name and do one of the following:
- If your enrollment request is Approved, you can click Open Course or click View Request to review the details of your request.
- If your enrollment request is Declined, you can click View Request to review any comments your instructor may have left explaining why your request was declined.
The following video provides instructions on how to use the onQ Calendar:
Use the Calendar tool to arrange and visualize course events in multiple views and enable integration of course content and your Calendar. You can use iCal to synchronize the Calendar tool to your personal calendars (such as Outlook and Google Calendar, as well as iPhone and Android).
You can add new events and update existing events by importing them from an external iCal file into your Calendar.
- On the navbar, click Calendar.
- From the calendar menu, click the course you want your events to be grouped under.
- Click Import Events.
- To search for the iCal file containing your events, on the Import Events page, click Browse. If you want to import the events into a specific group or section, in the Attendees drop-down list, select the group or section.
- Click Open > Import.
- On the navbar, click Calendar.
- Click Settings.
- Make your changes.
- Click Save.
Use iCal feeds to access your Calendar events outside of the learning tool. With iCal feeds, you can view your course events in external calendars such as Microsoft Outlook and Google Calendar, and on mobile devices such as iPhones, BlackBerry smartphones, and Android phones.
Subscribing to an iCal feed syncs your external calendar application or device with the Calendar tool, keeping you updated without logging in to onQ. Refer to your device or application instructions for adding an iCal feed, as each application can have a different method for managing iCal feeds.
- On the navbar, click Calendar.
- In the Calendar views area, click Settings.
- Select the Enable Calendar Feeds check box.
- In the Calendar views area, click Subscribe.
- From the drop-down list, select which calendar you want to subscribe to, or select All Calendars and Tasks, or Tasks Only.