View the example page to see this paragraph in action.
How to use this paragraph
- Create a Basic Page.
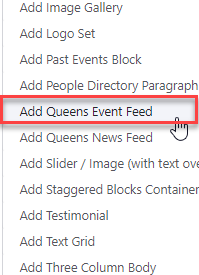
- Scroll down to the Paragraphs section, click the drop-down arrow, and click "Add Queen's Event Feed".
- Proceed to the Overview of a Queen's Event Feed section of this guide below.
- Once you've added your Queen's Event Feed, choose your publishing options and click Save at the bottom of the page.
Overview of a Queen's Event Feed
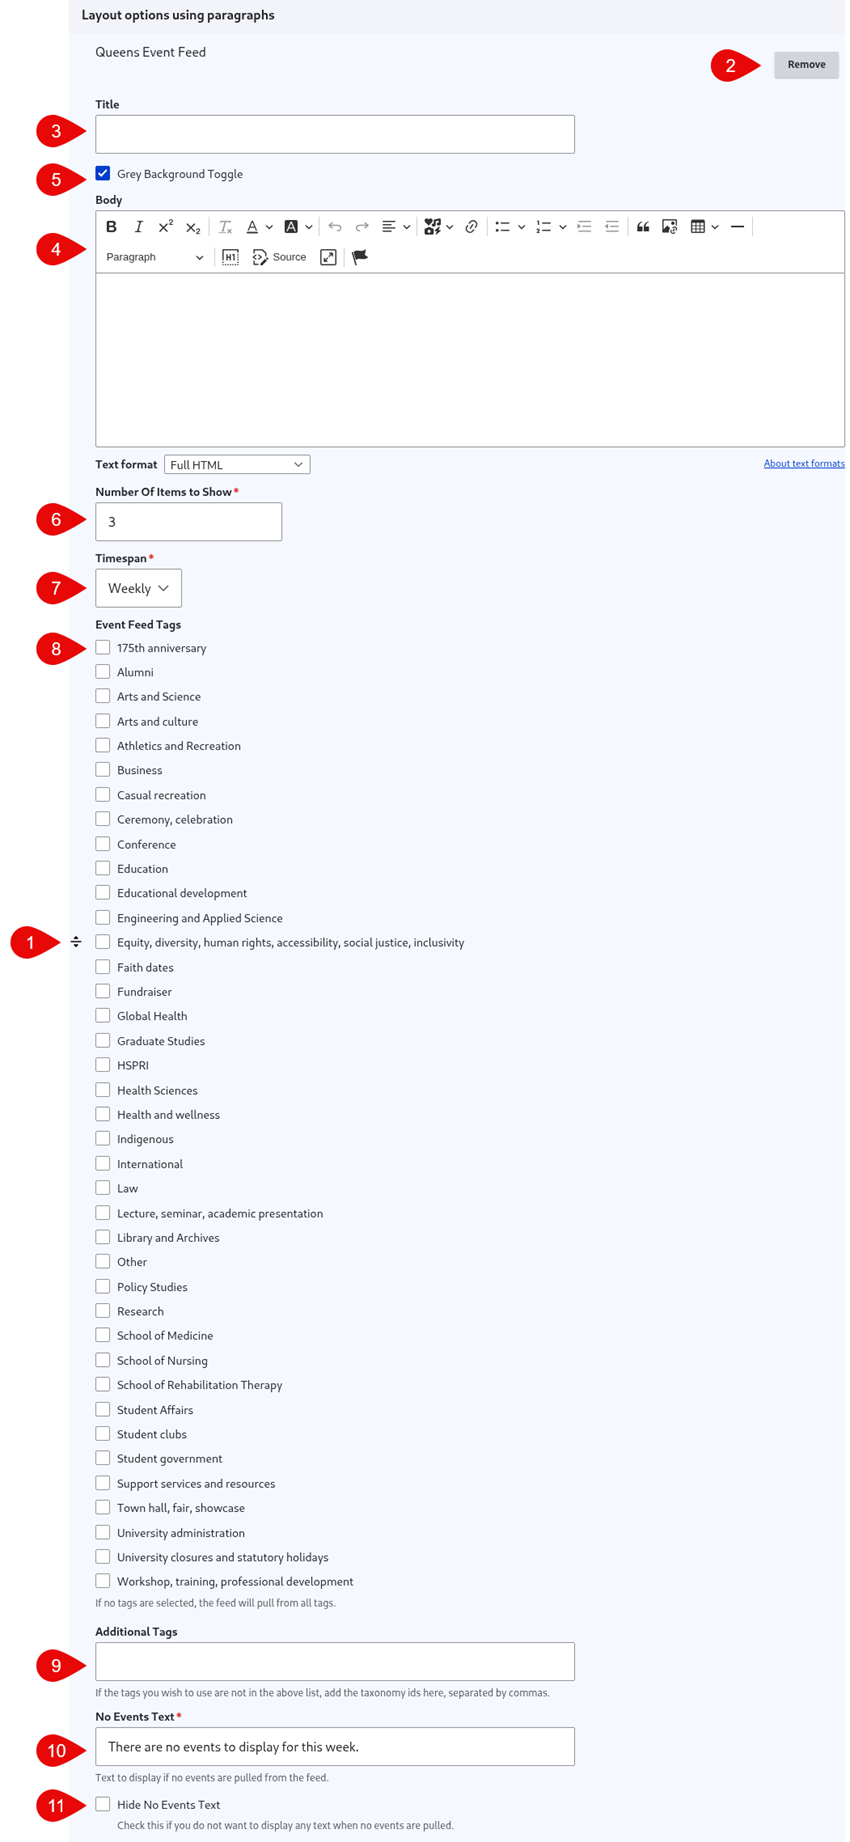
- Click and drag the crosshairs handle to rearrange your paragraphs.
- Remove the entire paragraph from your page
- Title - the title that will be displayed as an H2 above the event feed content
- Body - optionally add descriptive text to appear above the event listing
- Grey Background Toggle - if this option is unchecked, the divider will appear on a white background. If it is checked, it will appear with a grey background. Only use the grey background if you are adding a divider between two paragraphs that also use a grey background.
- Timespan - indicate whether events should be returned from the upcoming day, week or month
- Number of Items to Show - select how many items should be displayed on the paragraph
- Event Feed Tags - Select tags to filter the results displayed in the block to a specific category from the Queen's Event Calendar
- Additional Tags - if the tags you wish to use are not in the Event Feed Tags list, add the taxonomy id in this field separated by commas
- No Events Text - add the text that you'd like to appear if there are no events to display
- Hide No Events Text - if you would prefer to display no text when there are no events, check this box.